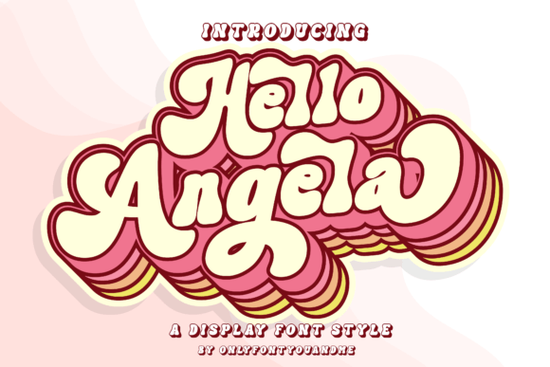
Finding the right lettering for a playful branding project or a quirky craft can take hours of scrolling. The Hello Angela Font solves this by offering a highly stylized, fun display typeface that immediately adds personality to any layout. Designed with creative hobbyists and small business owners in mind, this lettering style brings a lively, hand-drawn feel to digital and print projects without looking messy.
Whether you are designing a logo for a boutique, creating custom t-shirts for a print-on-demand shop, or laying out a zine, having a reliable display typeface is essential. Seeing how Hello Angela applies to real-world layouts can help you understand display typography techniques and visual hierarchy much better.
What makes this display typeface stand out for branding?
The biggest advantage for designers working with this lettering is its PUA encoding. If you have ever struggled to find special swashes, ligatures, or alternate characters hidden inside a standard font file, PUA (Private Use Area) encoding fixes that problem. It maps all those extra glyphs to standard keyboard characters, meaning you can easily access them through the character map on your computer or directly inside design software.
This level of access allows you to customize words so they do not look like standard, repetitive text. You can swap out a standard lowercase letter for one with a sweeping tail, or use an alternate capital letter to balance the visual weight of a logo. For small businesses building a unique brand identity, these small typographic tweaks make a massive difference in the final product.
How can crafters and print-on-demand sellers use this lettering?
Crafters and print-on-demand sellers need versatile assets that look good on a variety of physical products. Because this style is bold and expressive, it works exceptionally well on items where readability from a distance is key. Think about canvas tote bags, ceramic mugs, or nursery wall art.
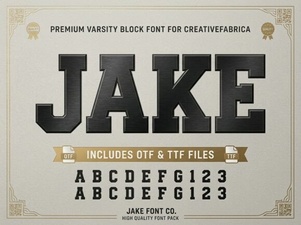
If you want to explore different moods for your shop, you can easily mix this bouncy style with other aesthetics. For instance, pairing it with the Bloomsy typeface can give your floral product lines a softer, more romantic vibe. Alternatively, if you are designing apparel for a streetwear or casual brand, combining it with the relaxed strokes of Jake creates a very approachable, laid-back look for your customers.
Which design tools work best with PUA encoded characters?
You do not need expensive software to use these special characters, though professional tools make the process much easier. Adobe Illustrator and Photoshop have dedicated glyphs panels that let you click and insert alternates seamlessly into your active text boxes.
For crafters using cutting machines, the workflow is slightly different but still straightforward. In Cricut Design Space or Silhouette Studio, you can open your computer’s built-in Character Map on Windows or Font Book on Mac, copy the specific alternate glyph you want, and paste it directly into your canvas. This makes creating custom vinyl decals or layered paper crafts highly efficient.
What are some good font pairings for a fun display style?
A highly decorative display typeface needs a quiet partner. When setting body copy or subheadings, stick to clean, simple sans-serif or minimalist serif fonts. This prevents the design from becoming visually overwhelming and keeps your main message readable.
If your project requires multiple display fonts, contrast is your best friend. You might use this bouncy lettering for the main title, and then bring in something much heavier and more structured for the sub-text, like the Harlow chunky letters. For vintage-themed posters or brewery labels, mixing it with the structured, stacked vintage layouts of Brick gives the design a rich, historical feel. You can also lean into mid-century aesthetics with Picky if you want to create a cohesive 1970s-inspired product line.
How do I prepare the files for commercial printing?
Before sending your designs to a commercial printer or uploading them to a print-on-demand platform, always outline your text. Converting your type to vector paths ensures that the printer’s computer does not substitute your beautiful lettering with a default system font. In Illustrator, simply select the text and choose Create Outlines. In web-based tools, downloading the final design as a PDF Print or high-resolution PNG usually flattens the text automatically.
Quick checklist for your next design project
- Test the alternates: Open your character map and try out different PUA glyphs before finalizing your layout.
- Balance the layout: Pair the display text with a simple, highly legible sans-serif for any smaller body copy.
- Outline your text: Convert all text to vector paths or flatten the image before sending files to a professional printer.
- Verify the license: Check the specific commercial licensing agreement to ensure your exact use case is covered.
- Use mockups: Place your design on a realistic product template to see how the lettering scales in the real world.
 Unleash Creativity with the Jake Font Style
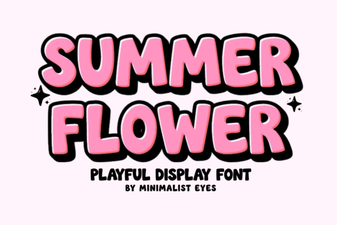 Designing with Summer Flower Fonts: Styles & Projects
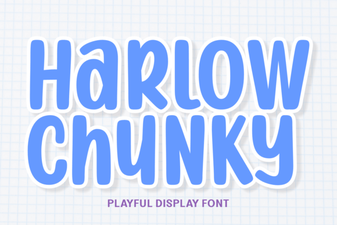 Harlow Chunky Font: Bold Typography Projects
 Building a Stacked Brick Font
 Groovy Melt Font: for Creative & Playful Designs
 Motcha Font: a Creative Typography Guide